How to Change the Appearance of a Workbook in Microsoft Excel 2016
- By Curtis Frye
- 10/16/2015
Add images to worksheets
Establishing a strong corporate identity helps you ensure that your customers remember your organization and the products and services you offer. Setting aside the obvious need for sound management, two important physical attributes of a strong retail business are a well-conceived shop space and an eye-catching, easy-to-remember logo. After you or your graphic artist creates a logo, you should add the logo to all your documents, especially any that might be seen by your customers. Not only does the logo mark the documents as coming from your company, it also serves as an advertisement, encouraging anyone who sees your worksheets to call or visit your company.
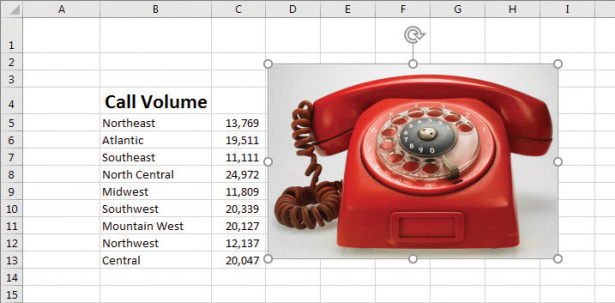
One way to add a picture to a worksheet is to locate the picture you want to add from your hard disk, insert it, and then make any formatting changes you want. For example, you can rotate, reposition, and resize the picture.
With Excel 2016, you can remove the background of an image you insert into a workbook. When you indicate that you want to remove an image’s background, Excel guesses which aspects of the image are in the foreground and eliminates the rest.

An image just after the Remove Background tool has been applied
You can drag the handles on the inner square of the background removal tool to change how the tool analyzes the image, and save your results when you’re done.
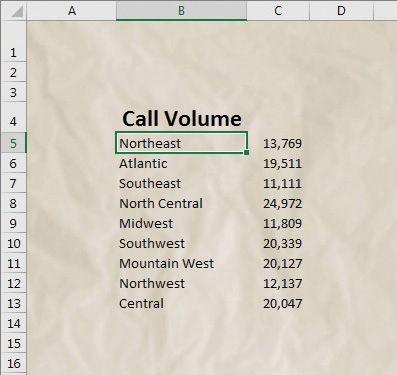
If you want to generate a repeating image in the background of a worksheet to form a tiled pattern or texture behind your worksheet’s data, or perhaps add a single image that serves as a watermark, you can do so.
To add an image stored on your computer to a worksheet
- On the Insert tab of the ribbon, in the Illustrations group, click Pictures.
- In the Insert Picture dialog box, navigate to the folder that contains the image you want to add to your worksheet.
- Click the image.
- Click Insert.
To add an online image by using Bing Image Search
- Click the Online Pictures button.
- In the Insert Pictures dialog box, enter search terms identifying the type of image you want to find online.
- Press Enter.
- Click the image you want to add to your worksheet.
- Click Insert.
To resize an image
Click the image.

Drag a handle to resize an image
Drag one of the handles that appears on the image’s border.
Or
On the Format tool tab of the ribbon, in the Size group, enter new values for the image’s vertical and horizontal size in the Height and Width boxes.
To edit an image
- Click the image.
- Use the controls in the Size group to change your image’s appearance.
To delete an image
- Click the image.
- Press the Delete key.
To remove the background from an image
- Click the image.
- Click the Remove Background button.
- Drag the handles on the frame until the foreground of the image is defined correctly.
- On the Background Removal tool tab of the ribbon, click the Keep Changes button.
To set an image as a repeating background
- On the Page Layout tab, in the Page Setup group, click the Background button.
Click the Browse button and navigate to the folder that contains the file you want to use as your repeating background.
Or
Enter search terms in the Search Bing box, and then press Enter.
- Click the image you want to set as your background.
- Click Insert.

Add repeating images to enhance the background of a worksheet


