Design and implement core networking infrastructure
- By Charles Pluta
- 11/5/2022
- Skill 2.1: Design and implement private IP addressing for virtual networks
- Skill 2.2: Design and implement name resolution
Skill 2.2: Design and implement name resolution
Name resolution is a critical part of any infrastructure design, and maybe more so in a cloud environment. In an on-premises environment, names are prevalent and commonly used, but they map to static IP addresses a lot of times, and thus don’t change often. However, in the cloud, more and more addresses and services use dynamic IP addresses, making DNS that much more important. Azure has two primary DNS solutions—public and private DNS zones—which are discussed in this skill section.
Design public DNS zones
Azure DNS is a PaaS service that provides an authoritative DNS service for a domain name in your environment. The domain name should be a public domain that you have the ability to configure the name servers for. After you create the public DNS zone, you must change the name servers with the domain registrar so that the records that you create will work properly. This will have an impact on any existing DNS configuration.
To create a public DNS zone, follow these steps:
Sign in to the Azure portal at https://portal.azure.com.
In the search bar, search for and select DNS zones.
On the DNS zones page, click Create.
In the Subscription dropdown menu, select the subscription to create the zone in.
In the Resource group dropdown menu, create or select a resource group to logically organize the resource in.
In the Name field, provide a valid domain name that you own, for example az700examref.com.
Click Review + Create, and then click Create. Figure 2-9 displays the completed configuration.
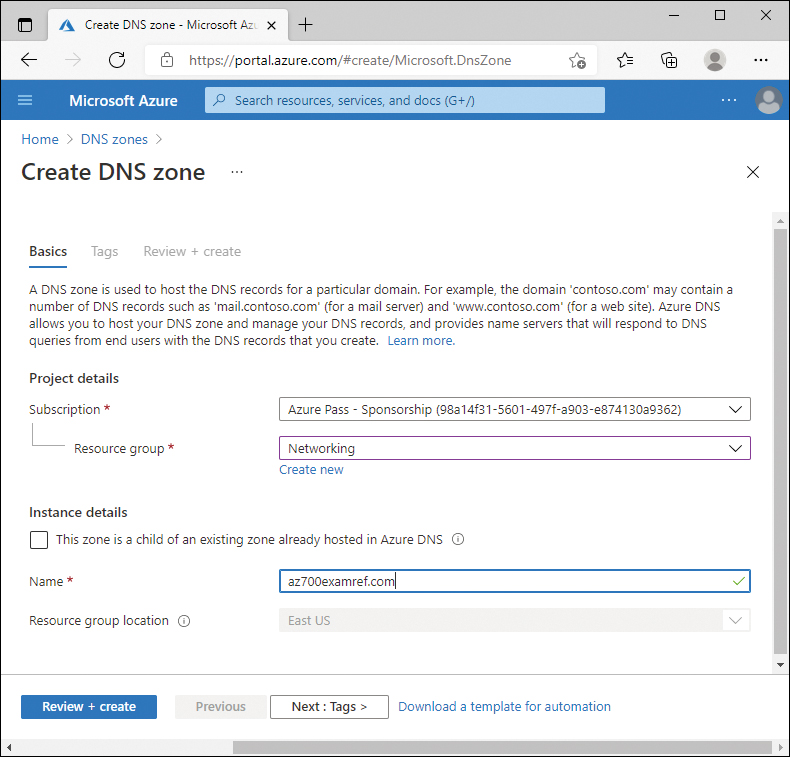
FIGURE 2-9 Create DNS zone
)
After creating the DNS zone, take note of the name servers provided by the Azure service. These name servers must be configured with the domain so that the records that you create resolve correctly. Each registrar has its own steps and methods of updating the name servers for their domain names. Figure 2-10 displays the name servers assigned to the new az700examref.com zone.
)
FIGURE 2-10 Assigned name servers
After you have made the name server change with the domain registrar, you can verify that the change is accurately propagated on the internet by using nslookup. Figure 2-11 shows the nslookup utility being used to query the name servers for the az700examref.com domain.
)
FIGURE 2-11 nslookup utility
Design private DNS zones
Private DNS zones are similar to public zones in that they still contain records for resources and can even be public domain names. However, with a private zone, you do not need to modify the public name servers. Instead, you link the private DNS zone to the virtual networks where you would like name resolution to work. Resolution will then only occur from within the virtual network, and not externally or publicly. This means that the domain name does not even need to be a valid or routable domain.
To create a private DNS zone, follow these steps:
Sign in to the Azure portal at https://portal.azure.com.
In the search bar, search for and select Private DNS zones.
On the Private DNS zones page, click Create.
In the Subscription dropdown menu, select the subscription to create the zone in.
In the Resource group dropdown menu, create or select a resource group to logically organize the resource in.
In the Name field, provide a valid domain name that you own, for example az700examref.private.
Click Review + Create, and then click Create. Figure 2-12 displays the completed configuration.
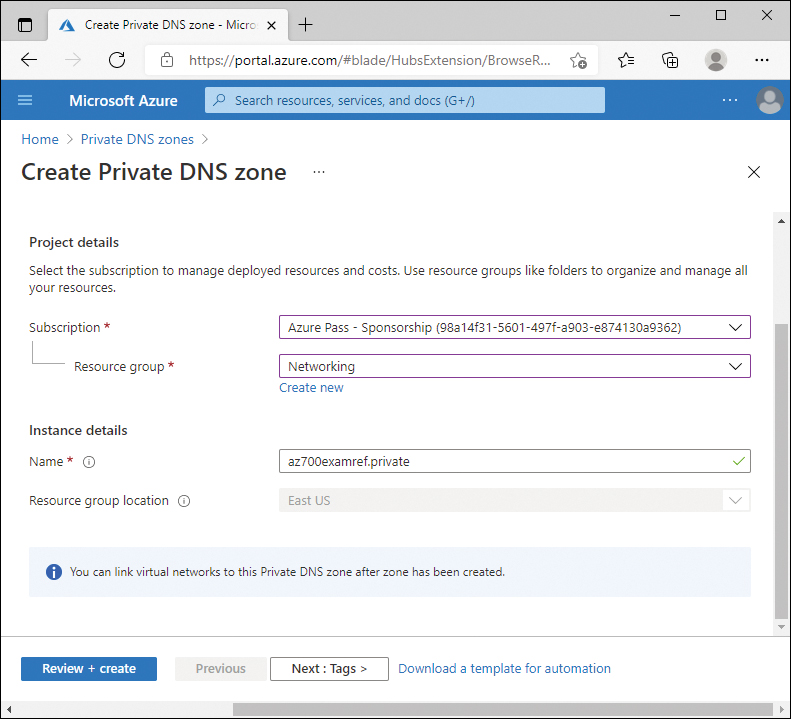
FIGURE 2-12 Private DNS zone creation
)
After a private DNS zone is created and linked to a virtual network, the name resolution occurs within the virtual network. The diagram in Figure 2-13 displays the three steps for VM1 resolving the IP address of VM2:
)
FIGURE 2-13 Private DNS steps
VM1 wants to connect to VM2.az700examref.private but does not know the IP address and requests it from the virtual network’s DNS server.
The private DNS zone has a record for VM2 and responds to the DNS request with an IP address of 10.0.0.4.
VM then connects directly to VM2 using the 10.0.0.4 IP address.
Design name resolution inside a virtual network
Determining whether to use public DNS zones, private DNS zones, or a combination of the two is the primary factor for designing how name resolution works in the environment. Private zones give you the flexibility to use a desired naming solution within your virtual network without modifying external, public DNS records. Private zones also give you the ability to configure “split-horizon” DNS where the same fully qualified name, such as app1.contoso.com, resolves to one service internally and another service externally. Other benefits of using private zones include:
Automatic hostname management
Hostname resolution between virtual networks
Reverse DNS lookups, but only within the virtual network
Private DNS zones also have limitations. When using automatic registration of hostnames, then the virtual network can only be linked to one private DNS zone. The DNS zone can still have multiple virtual networks linked. Another limitation is that conditional forwarding does not have native support and requires additional configuration to resolve on-premises names.
Both public and private DNS zones in Azure use the same dedicated IP address for DNS queries: 168.63.129.16. This is a static IP address, and it does not change per zone, subscription, or tenant.
Configure a public or private DNS zone
Both public and private DNS zones support the common DNS record types:
A
AAAA
CNAME
MX
PTR
SRV
TXT
To create a new record, follow these steps:
Sign in to the Azure portal at https://portal.azure.com.
In the search bar, search for and select Private DNS zones.
Click the name of the private zone you have previously created.
In the private zone, click + Record set.
In the Name field, provide a name for the record as part of the fully qualified domain name, such as app1.
In the Type dropdown menu, select the desired type of record. In this example, select CNAME.
Leave the TTL value default, which is the amount of time the DNS record will be cached before being looked up again.
Provide an alias for the CNAME record, which is where DNS will redirect the connection request to. In this example, use www.microsoft.com.
Click OK. Figure 2-14 displays the completed configuration.
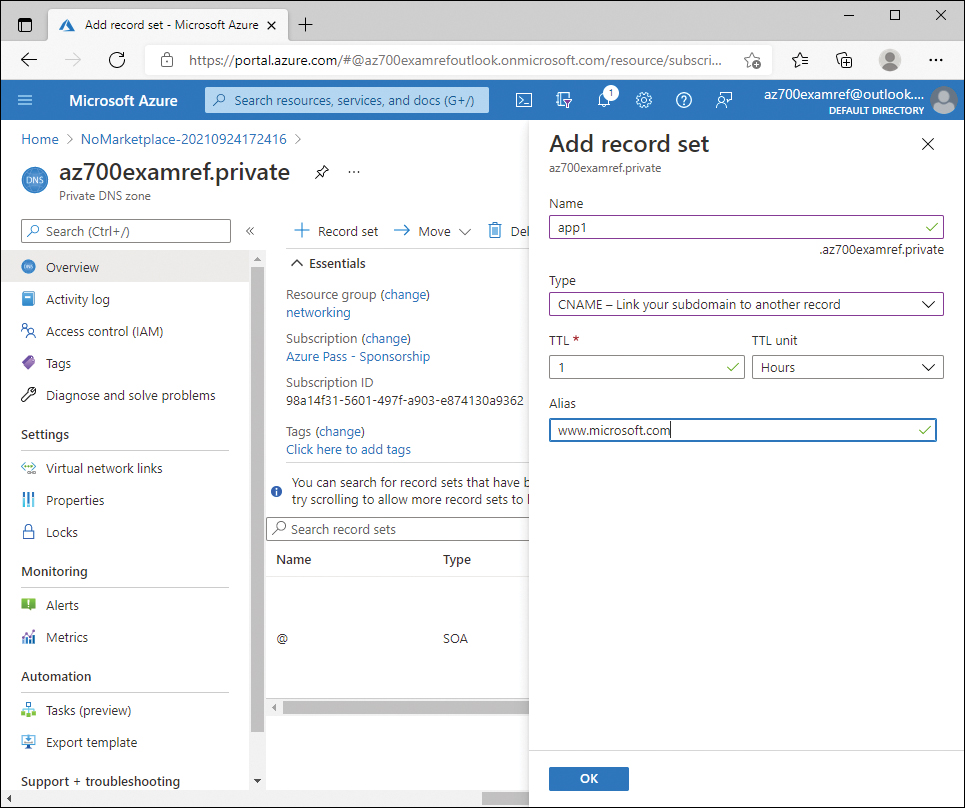
FIGURE 2-14 Add record set
)
The process for creating a record set for a public DNS zone is the same. With public DNS zones, you also have the ability to create CAA and NS record types. Otherwise, the steps are similar to add a record in either a public or a private DNS zone.
Link a private DNS zone to a virtual network
For a private DNS zone to return queries, it must be linked to a virtual network. Creating a private DNS zone and adding record entries does not make the association with a virtual network. To link a private DNS zone to a virtual network, follow these steps:
Sign in to the Azure portal at https://portal.azure.com.
In the search bar, search for and select Private DNS zones.
Click the name of the private zone you have previously created.
Click the Virtual network links blade.
Click + Add.
Provide a name for the association because the private DNS zone can be linked with multiple virtual networks. In this example, use eus-vnet01.
In the Subscription dropdown, select the subscription where the virtual network is located.
In the Virtual network dropdown, select the virtual network to make the association with. If you do not have direct access to the virtual network, and the virtual network is in a different subscription that you do not manage, select the I know the resource ID of the virtual network checkbox and obtain the full path from the other subscription owner.
If you want auto-registration of resources in the virtual network with the private DNS zone, select the checkbox. However, this will prevent the virtual network from being linked to any other private DNS zone.
Click OK. Figure 2-15 displays the completed configuration.
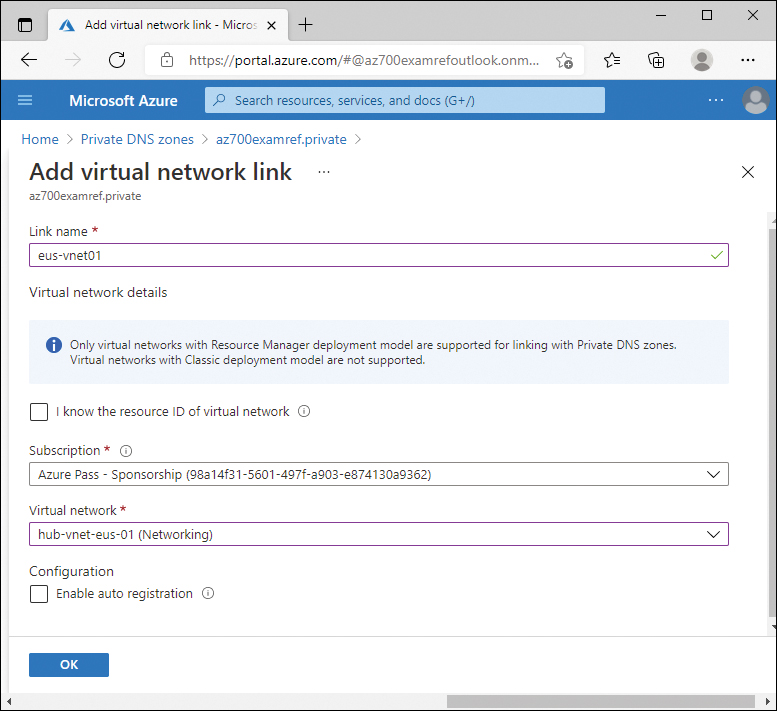
FIGURE 2-15 Add virtual network link
)