Preparing your environment for the cloud
- By Aaron Guilmette, Ed Fisher, Darryl Kegg
- 6/26/2023
Preparing your directories
Much like preparing your network for a successful Microsoft 365 implementation, it is equally important to ensure that your on-premises directories are free from any issues that might impact a successful synchronization of users, groups, and contacts to your tenant.
Microsoft provides the IDFix tool, which will review your environment and highlight any problem areas or data inconsistencies. Follow these steps to install IDFix:
Download the IDFix setup media from https://aka.ms/idfix and launch it.
Launch the IDFix setup media and click Install, as shown in Figure 2-17.
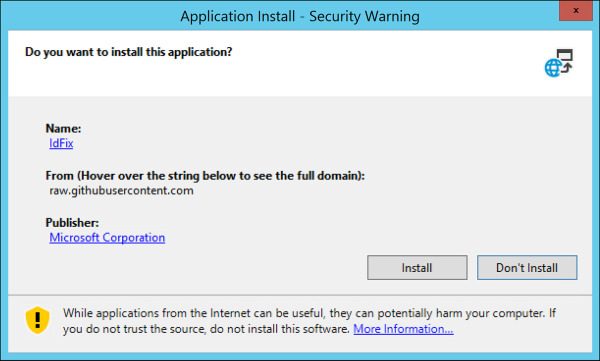
Figure 2-17 Application Install Security Warning dialog
If prompted with an Open File–Security Warning, as shown in Figure 2-18, click Run to proceed with the installation.
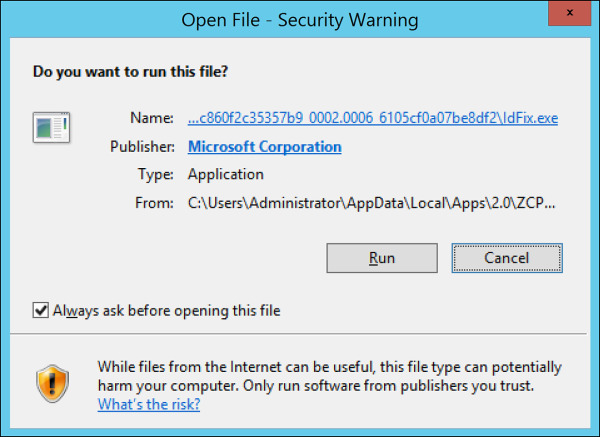
Figure 2-18 Open File Security Warning dialog
Click OK to proceed past the IdFix Privacy Statement dialog shown in Figure 2-19. This dialog is displayed because the IDFix application will review your data and provide reports containing sensitive information.
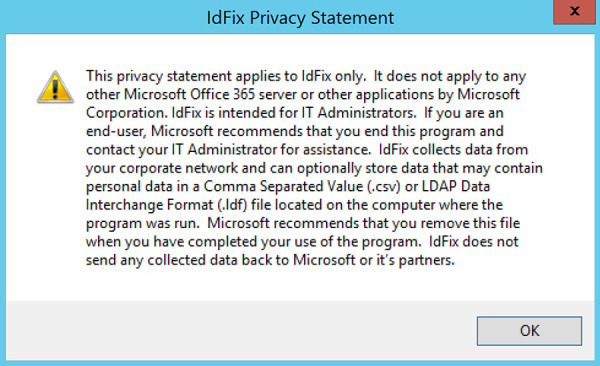
Figure 2-19 The IDFix Privacy Statement
Select the Query option from the topmost menu, as shown in Figure 2-20.

Figure 2-20 The IDFix tool main menu
While the query is running, a status will be displayed in the lower-left corner.
As shown in Figure 2-21, once the query has been completed, a list of all detected issues will be displayed with an error description for each. The total object and error counts will be displayed in the lower-left corner.
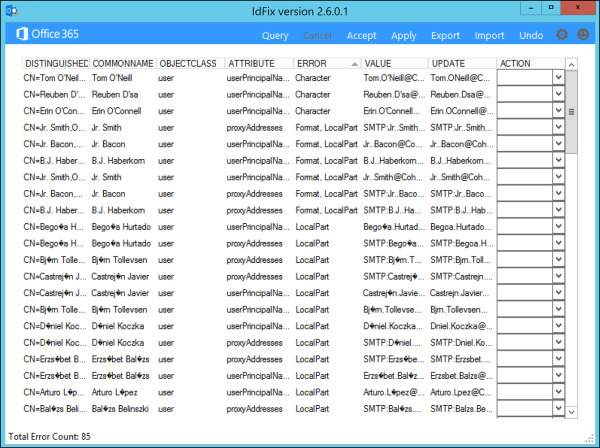
Figure 2-21 IDFix error report summary
Selecting a single error will allow you to use the Action column to define the behavior that should be used to resolve it. As shown in Figure 2-22, you can choose to Edit, Remove, or Complete the object in question.
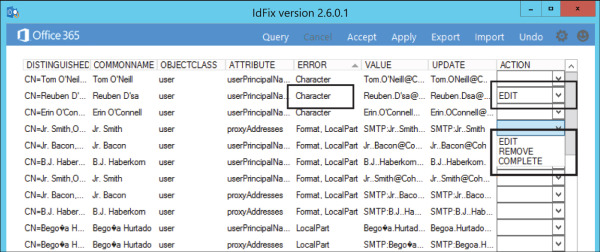
Figure 2-22 Selecting actions for error objects in IDFix
Once you have selected the appropriate action for each object, selecting Apply at the top of the menu returns the confirmation dialog shown in Figure 2-23.

Figure 2-23 IDFix Apply Pending dialog
Click Yes to apply all selected updates.
Once complete, all updates that have been applied will be marked as Complete, as shown in Figure 2-24.
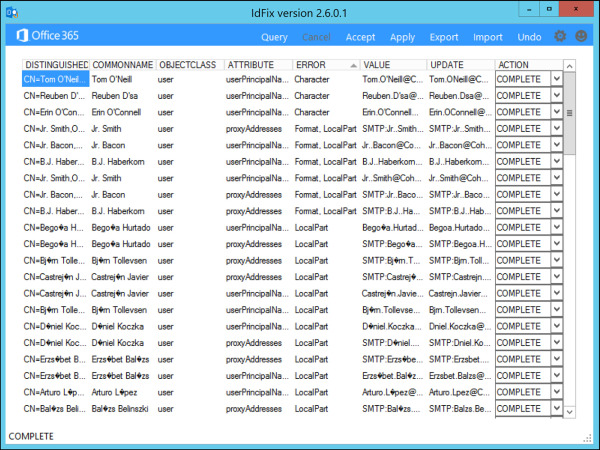
Figure 2-24 IDFix tool with Actions updated
Following are a few important notes:
When selecting Edit, you will not be allowed to edit the value in error manually. Instead, the IDFix tool will simply apply the update displayed in the Update column. You should review this new value below, allowing IDFix to make the change.
Optionally, you can use the Accept option on the IDFix main menu to automatically apply the updated value shown in the Update column to each object in an error state, as shown in Figure 2-25.
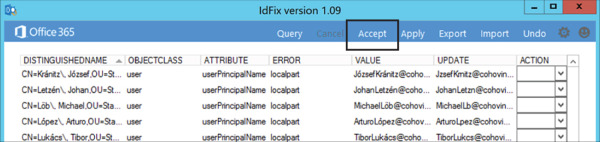
Figure 2-25 The IDFix Accept option
Like the Apply option, the Accept option will also display a dialog warning that the changes being made represent a risk as they are changing data in your directory. See Figure 2-26.

Figure 2-26 Apply Pending dialog
Using the Accept All option in the Accept dropdown menu will simply change all Action fields to Edit, and it is then necessary to use the Apply option to make the changes.
Once the changes have been applied, select Query to re-run the IDFix process against your directory and confirm no additional changes are required.
)
)
)
)
)
)
)
)
)
)