Unleashing the power of Excel with VBA


- By Bill Jelen and Tracy Syrstad
- 4/10/2019
Understanding the VB Editor
If you want to edit a recorded macro, you do it in the VB Editor. Press Alt+F11 or use the Visual Basic icon in the Developer tab.
Figure 1-7 shows an example of a typical VB Editor screen. You can see three windows: the Project Explorer, the Properties window, and the Programming window. Don’t worry if your window doesn’t look exactly like this because you will see how to display the windows you need in this review of the editor.
)
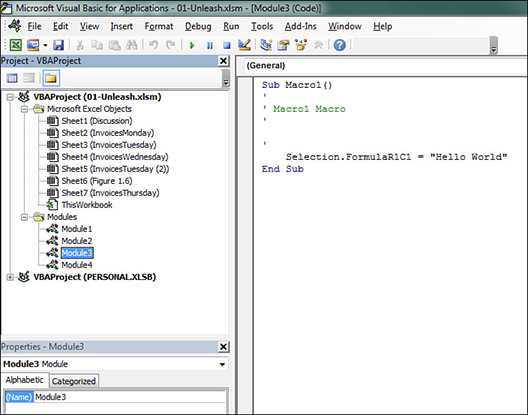
FIGURE 1-7 The VB Editor window.
VB Editor settings
Several settings in the VB Editor enable you to customize this editor and assist you in writing your macros.
Under Tools, Options, Editor, you find several useful settings. All settings except for one are set correctly by default. The remaining setting requires some consideration on your part. This setting is Require Variable Declaration. By default, Excel does not require you to declare variables. I prefer selecting this setting because it can save time when you create a program. My coauthor prefers to change this setting to require variable declaration. This change forces the compiler to stop if it finds a variable that it does not recognize, which reduces misspelled variable names. Whether you turn this setting on or keep it off is a matter of your personal preference.
The Project Explorer
The Project Explorer lists any open workbooks and add-ins that are loaded. If you click the + icon next to the VBA Project, you see that there is a folder containing Microsoft Excel objects. There can also be folders for forms, class modules, and standard modules. Each folder includes one or more individual components.
Right-clicking a component and selecting View Code or just double-clicking the components brings up any code in the Programming window. The exception is userforms, where double-clicking displays the userform in Design view.
To display the Project Explorer window, select View, Project Explorer from the menu or press Ctrl+R or locate the bizarre Project Explorer icon just below the Tools menu, sandwiched between Design Mode and Properties Window.
To insert a module, right-click your project, select Insert, and then choose the type of module you want. The available modules are as follows:
Microsoft Excel objects—By default, a project consists of sheet modules for each sheet in the workbook and a single ThisWorkbook module. Code specific to a sheet such as controls or sheet events is placed on the corresponding sheet. Workbook events are placed in the ThisWorkbook module. You read more about events in Chapter 7, “Event programming.”
Forms—Excel enables you to design your own forms to interact with the user. You read more about these forms in Chapter 10.
Modules—When you record a macro, Excel automatically creates a module in which to place the code. Most of your code resides in these types of modules.
Class modules—Class modules are Excel’s way of letting you create your own objects. They also allow pieces of code to be shared among programmers without the programmer’s needing to understand how it works. You read more about class modules in Chapter 9, “Creating classes and collections.”
The Properties window
The Properties window enables you to edit the properties of various components such as sheets, workbooks, modules, and form controls. The properties list varies according to what component is selected. To display this window, select View, Properties Window from the menu, press F4, or click the Project Properties icon on the toolbar.