Using SharePoint 2013 with Excel and Access
- By Olga Londer and Penelope Coventry
- 8/15/2013
- Importing data from an Excel spreadsheet to a list in SharePoint
- Exporting a SharePoint list to an Excel spreadsheet
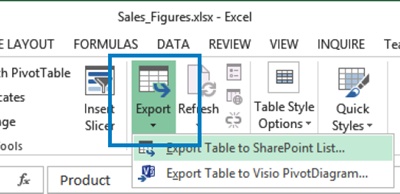
- Exporting an Excel table to a SharePoint site
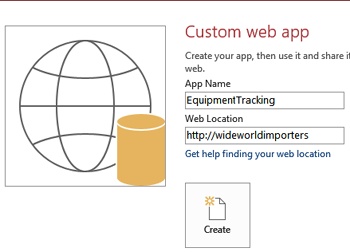
- Building an Access app
- Creating a table in an Access app
- Working with an Access app in the browser
- Exporting data from an Access desktop database to a list
- Importing a list
- Linking to a list
- Moving data from a desktop database to a list
- Working offline
- Key points
Chapter at a glance
Import
Import data from an Excel spreadsheet to a list in SharePoint, Importing data from an Excel spreadsheet to a list in SharePoint
Export
Export data to a SharePoint list, Exporting an Excel table to a SharePoint site
Build
Build an Access app, Building an Access app
Import and Link
Import data from a SharePoint list, Importing a list
Link to a SharePoint list, Linking to a list
IN THIS CHAPTER, YOU WILL LEARN HOW TO
Importing data from an Excel spreadsheet to a list in SharePoint
Exporting a SharePoint list to an Excel spreadsheet
Exporting an Excel table to a SharePoint site
Building an Access app
Creating a table in an Access app
Working with an Access app in the browser
Exporting data from an Access desktop database to a list
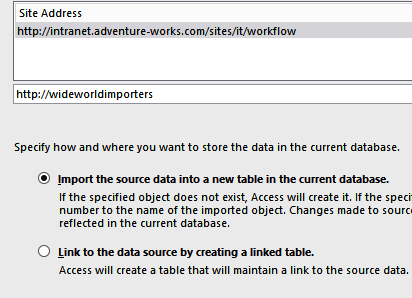
Importing a list
Linking to a list
Moving data from a desktop database to a list
Working offline
Microsoft SharePoint 2013 provides the collaborative backbone to the Microsoft Office 2013 system. This chapter focuses on the integration of SharePoint 2013 with Microsoft Office Excel 2013 and Microsoft Office Access 2013.
Similar to previous versions, with Excel 2013 you can export and import data to and from SharePoint lists and provide one-way synchronization from SharePoint lists to Excel spreadsheets so that you can take the data offline, and then synchronize with the SharePoint lists when you reconnect.
The combination of SharePoint 2013 and Access 2013 makes it easy for you to build a desktop database against SharePoint. Ever since Microsoft Windows SharePoint Services 3.0, you could move away from storing your Access desktop database files on file shares. You can store an Access database in a SharePoint library, which lets you and your team collaborate easily with the Access database solution. You can also move data held in Access tables to SharePoint lists, exposing the lists in the Access database as linked tables that allow updates in SharePoint lists to be reflected in the Access table, and vice versa. If you do not possess the skills or privileges to be a Microsoft SQL Server database administrator, you can still obtain the manageability and stability benefits of storing data on the server while retaining the use of Access. Also, the data in the linked tables is stored locally on your computer so that you can work offline with data, and then synchronize the changes when you reconnect.
However, there are some performance issues with this approach. It does not allow you to model some of the more complex scenarios built using Access; therefore, new with the Enterprise edition of Microsoft SharePoint Server 2010 is the ability to create a SharePoint site based on an Access database, known as an Access web database. This ability is extended in SharePoint Server 2013, with a new, completely rewritten Access Services service application, where Access 2013 databases are published to SharePoint Server 2013 as an Access web app, also known as Access apps. Access apps are excellent when you wish to rapidly create end-to-end web-based business solutions, including those that involve custom forms.
This chapter details the integration of SharePoint with Excel 2013 and Access 2013 apps, as well as desktop databases. Although you can complete many of the desktop database–related tasks documented in this chapter using previous versions, the steps and screen shots in this chapter were created using Excel 2013 and Access 2013. If you use Microsoft Office Excel 2010 or Microsoft Office Access 2010, your steps and screen shots will be slightly different. See Microsoft SharePoint Foundation 2010 Step by Step by Olga Londer and Penelope Coventry (Microsoft Press, 2010) for steps on using Access 2010 with SharePoint.
Importing data from an Excel spreadsheet to a list in SharePoint
In many situations, you might already have data within a spreadsheet, but later you find that you need to share the data with other members of your team. SharePoint can import data from an Excel spreadsheet into a SharePoint list. Those users who have appropriate permissions may read the SharePoint list, whereas others may even revise the list or enter additional data. You can choose to import all the data held on a worksheet, in a range of cells, in a named range, or in an Excel table.
In the following exercise, you will use your browser to create a SharePoint custom list that contains data imported from an Excel spreadsheet.
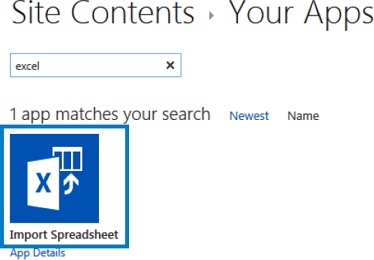
On the Settings menu, click Add an app. Then in the Find an app box, type excel and press Enter.
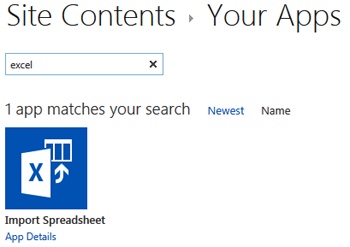
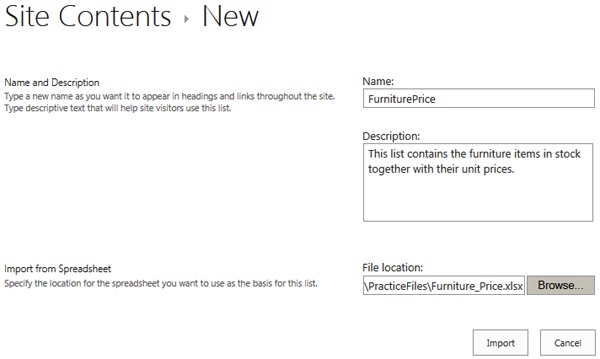
Click Import Spreadsheet, and then on the New page, in the Name box, type FurniturePrice.
In the Description box, type This list contains the furniture items in stock together with their unit prices.
Click Browse.
In the Choose File to Upload dialog box, go to the Chapter12 practice folder and double-click Furniture_Price.xlsx.
On the New page, click Import.
Excel 2013 opens Furniture_Price.xlsx and displays the Import to Windows SharePoint Services list dialog box.
From the Range Type list, check that Table Range is selected, and then in the Selected Range list, select Stock!FurniturePriceTable.
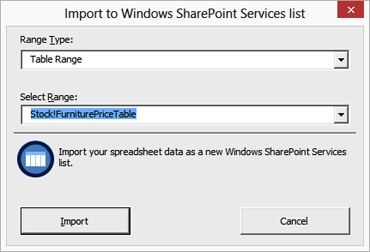
Click Import to create the FurniturePrice list and to display it in the browser.
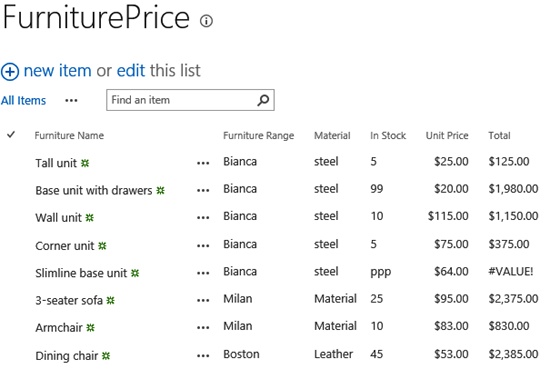
To change the title of the list, click the List tab, and then in the Settings group, click List Settings.
Under General Settings, click List name, description and navigation.
On the General Settings page, in the Name box, type a user-friendly name, such as Furniture Price.
In the Navigation section, click the Yes option to display this list on the Quick Launch.
Click Save at the bottom of the webpage, and then on the breadcrumb, click the Furniture Price to display the All Items view of the list.