Introduction to Microsoft Sentinel
- By Nicholas DiCola, Yuri Diogenes, Tiander Turpijn
- 10/25/2022
- Architecture
- Enabling Microsoft Sentinel
- Ingesting data from Microsoft solutions
- Accessing ingested data
Ingesting data from Microsoft solutions
One way to quickly start validating Microsoft Sentinel’s data ingestion is to start the configuration by using Microsoft built-in connectors. Each data connector will have its own set of prerequisites, including the type of license for the service from which you are trying to ingest data.
Start with the Azure Activity Log to visualize data from the subscription-level events that have occurred in Azure, which includes data ranging from Azure Resource Manager (ARM) operational data to updates on service health events. Follow the steps below to connect with the Azure Activity Log:
In the Microsoft Sentinel dashboard, click Data Connectors in the left navigation pane under the Configuration section. The Data Connectors page appears, as shown in Figure 2-8.
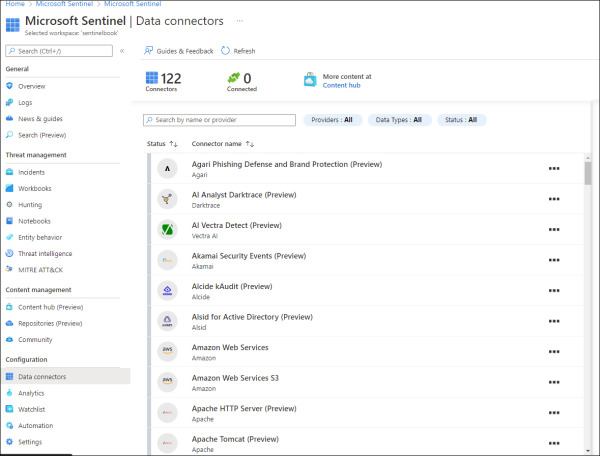
FIGURE 2.8 Data Connectors
In the search bar, type Azure Activity.
Click Azure Activity, and the Azure Activity blade appears on the right side, as shown in Figure 2-9.
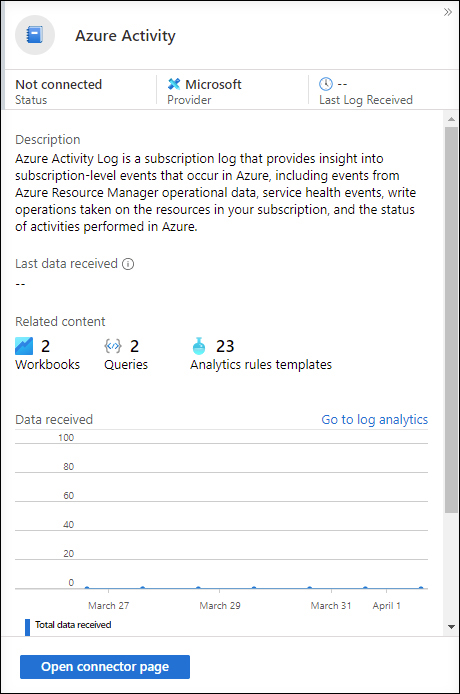
FIGURE 2.9 Azure Activity blade
Click the Open Connector Page button, and on the Instructions tab, click the Launch Azure Policy Assignment Wizard button. The Configure Azure Activity Logs To Stream To Specified Log Analytics Workspace page appears, as shown in Figure 2-10.
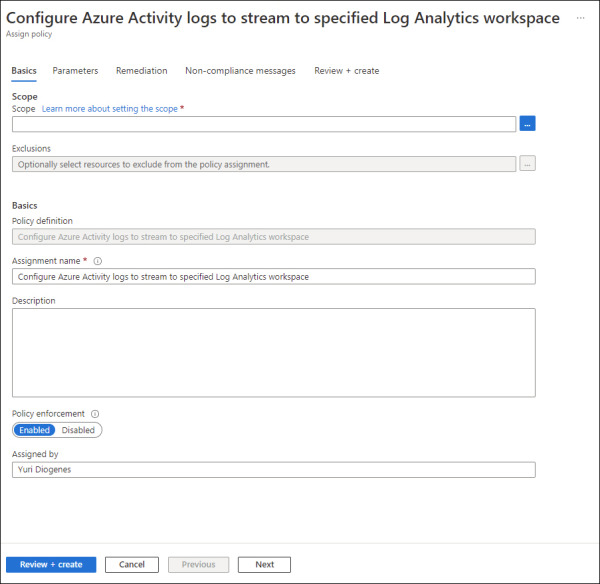
FIGURE 2.10 Enabling Azure Activity logs via Azure Policy
Under Scope, select the subscription, leave the other settings as is, and select the Parameters tab. On this tab, you will select the workspace that you created earlier.
Click the Remediation tab and select the Create A Remediation Task checkbox and leave the other options as is.
Click the Review + Create button, and then click Create to conclude.
Because this setting is deployed via Azure Policy, it may take several minutes to update the screen. You can close the connector’s page and return to the main Microsoft Sentinel dashboard.
)
)
Connecting Microsoft Defender for Cloud
If you have Microsoft Defender for Cloud enabled in your subscription, you can start ingesting the Security Alerts generated by Defender for Cloud, which provides a rich set of threat detections.
Defender for Cloud will generate alerts according to the enabled plans. Follow the steps below to connect to Defender for Cloud and start streaming security alerts to Microsoft Sentinel:
In the Microsoft Sentinel dashboard, in the left navigation pane, click Data Connectors in the Configuration section.
In the search bar, type Defender for Cloud, click the Microsoft Defender for Cloud option, and the Microsoft Defender for Cloud blade appears on the right side. In this blade, click the Open Connector Page button, and the Instructions tab appears selected, as shown in Figure 2-11.

FIGURE 2.11 Enabling the Microsoft Defender for Cloud connector
In the Configuration section, select the Subscription, and in the Status column, click the Status toggle to Connected.
By default, Bi-Directional Sync is enabled. Leave this as-is to allow Microsoft Sentinel and Defender for Cloud to be in sync regarding the alert’s status.
On the same page, scroll down and you will also see the Enable button under Create Incidents–Recommended! section, as shown in Figure 2-12.
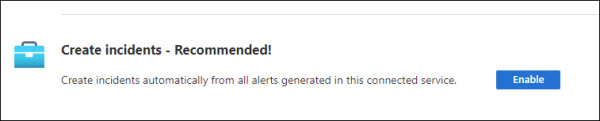
FIGURE 2.12 Option to create incidents automatically
The advantage of using this option is that the alerts arriving from Defender for Cloud will be surfaced in Microsoft Sentinel as incidents. Click the Enable button to commit this change. A quick validation will be done, and the Enable button becomes unavailable.
Close the page and return to the main Data Connectors page.
)
)
)
After some time, you will be able to refresh the connector, and you will see that the status has changed to Connected, as shown in Figure 2-13.
)
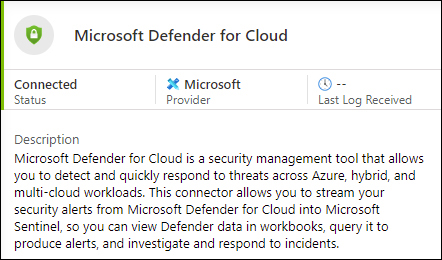
FIGURE 2.13 Defender for Cloud Status changes to Connected
Connecting to Azure Active Directory
Azure Active Directory (Azure AD) is the identity and access-management service in the cloud. Each Azure tenant has a dedicated and trusted Azure AD directory. The Azure AD directory includes the tenant’s users, groups, and apps, and it is used to perform identity and access-management functions for tenant resources. If you want to export sign-in data from Active Directory to Azure Sentinel, you must have an Azure AD P1 or P2 license.
The initial steps to configure Azure Activity Directory connector are the same as any other connector. The only difference is the page that opens up once you access the connector’s page. For Azure Active Directory, you will see a page similar to Figure 2-14.
)
FIGURE 2.14 Azure Active Directory Connector page
This connector allows the stream of sign-in logs containing information about interactive user sign-ins where a user provides an authentication factor. At the time of publication, there were also a series of additional logs in preview, including:
Non-interactive user sign-in logs
Service principal sign-in logs
Managed Identity sign-in logs
Audit logs
Provisioning logs
After you finish making your selection, click the Apply Changes button to commit these changes.