Using Windows 10
- By Ed Bott and Craig Stinson
- 3/6/2021
- An overview of the Windows 10 user experience
- Using and customizing the Windows 10 Start menu
- Using and customizing the taskbar
- Using and customizing Action Center
- Switching tasks
- Reviewing, revisiting, resuming with Timeline
- Switching between virtual desktops
- Managing and arranging windows
- Using a keyboard and mouse in Windows 10
- Using Windows 10 on a touchscreen device
- Using the Windows Ink workspace
- Working with fonts
Using the Windows Ink workspace
If you’ve used the Windows Ink workspace in previous versions of Windows 10, you might be startled by its appearance in version 1909 or later. Earlier incarnations gathered three pen-enabled apps—Sticky Notes, Sketchpad, and Screen Sketch—into a pane that appeared on the right side of your screen. Sticky Notes is still with us as a separate program (it’s been available in that form for a long time), but the pop-up pane is gone, replaced by buttons for launching Whiteboard and Fullscreen Snip:
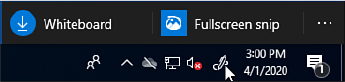
Whiteboard provides a canvas on which you and teammates can share text, drawings, graphics, and imported PDFs and Word or PowerPoint documents. Fullscreen Snip is exactly what its name implies. It takes a snapshot of the current screen, allowing you to annotate and share. Fullscreen Snip is an entrée into Snip & Sketch, which is a replacement for the Snipping Tool app that you may have used in earlier Windows versions.
Setting pen options
Options relating to your pen are located at Settings > Devices > Pen & Windows Ink. In the lower portion of that settings page, you’ll find a set of options for configuring pen shortcuts. (See Figure 3-18.) These options, which require a pen with a shortcut button, govern what happens when you press that button once, press it twice in quick succession, and press and hold.
)
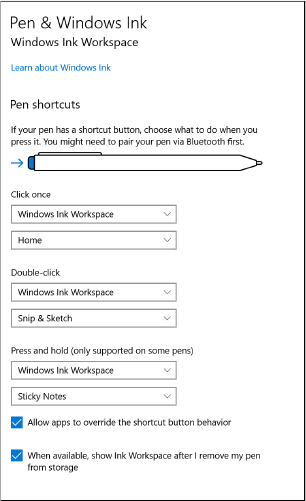
Figure 3-18 With the single-click, double-click, and hold settings, you can train your pen to launch a program, perform a screen capture, summon Cortana, or simply open the Windows Ink workspace.
Within the three sets of drop-downs, you’ll find options to launch programs, capture screens, and more.