Azure Sentinel - An Introduction
- By Yuri Diogenes, Nicholas DiCola, Jonathan Trull
- 3/17/2020
- Architecture
- Adoption considerations
- Enabling Azure Sentinel
- Data ingestion
- Accessing ingested data
Accessing ingested data
After connecting with the data sources that you need, you can start validating the connection flow to ensure the data is being saved in the workspace. To perform this validation, you need to access the workspace from Azure Sentinel and perform some queries using Kusto Query Language (KQL).
A Kusto query is a read-only request to process data and return results. The request is stated in plain text, using a data-flow model designed to make the syntax easy to read, author, and automate. The query uses schema entities that are organized in a hierarchy similar to SQL's databases, tables, and columns.
Follow these steps to access the workspace from Azure Sentinel and perform the validation for Azure Activity Log, which was the first data source that you connected in this chapter:
Open Azure Portal and sign in with a user who has contributor privileges for the workspace in which Azure Sentinel will be enabled as well as contributor privileges for the resource group.
Select the All services option, type Sentinel, and click Azure Sentinel, as shown in Figure 2-21.
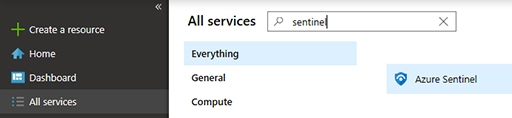
FIGURE 2-21 Accessing Azure Sentinel in Azure Portal
Click in the workspace that was created in the “Enabling Azure Sentinel” section, earlier in this chapter, and the Azure Sentinel main dashboard appears.
Under General, click Logs.
On the Logs page, type AzureActivity and click the Run button. You should see all activities that were performed and collected in the last 24 hours (which is the default timeframe). The result should look similar to Figure 2-22.
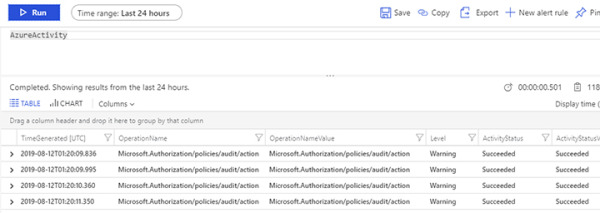
FIGURE 2-22 Azure Sentinel workspace results
)
)
As you can see, the logs are flowing, and you can obtain all results with a single query. However, in a real scenario, you want to narrow the results. An easy way to learn KQL while performing queries is to leverage the context-sensitive IntelliSense capability. To do that, write the query and IntelliSense will open a drop-down menu showing the available options, as shown in Figure 2-23.
)
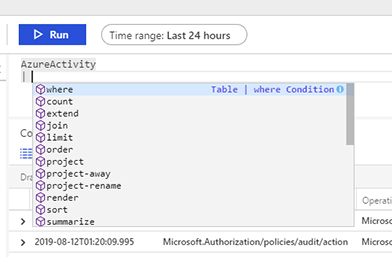
FIGURE 2-23 Using the context-sensitive IntelliSense capability
To narrow the search to look only for activities that are related to VM creation (which was the task you did in the beginning of this chapter), type the query below and click Run.
AzureActivity
| where OperationName contains "Create or Update Virtual Machine"
The results should be similar to Figure 2-24, unless you have done other activities where the operation name refers to the VM creation or an update to the VM.
)
FIGURE 2-24 Results of a more specific query
To validate the other data sources that were ingested in this chapter, you can use the following sample queries:
Azure Active Directory
Query: SigninLogs
Use this query to visualize all Azure AD sign-in logs.
Query: AuditLogs
Use this query to visualize all Azure AD audit logs.
Azure Active Directory Identity Protection
Query: SecurityAlert | where ProviderName == "IPC"
Azure AD Identity Protection alerts are located under the SecurityAlert table, and the way to identity alerts coming from this provider is by using the keyword “IPC” on the ProviderName field. This query will list all alerts generated by Azure AD Identity Protection.
Azure Security Center
Query: SecurityAlert | where AlertName contains "suspicious"
This query will list all alerts generated by Security Center where the alert name contains the keyword “suspicious”.